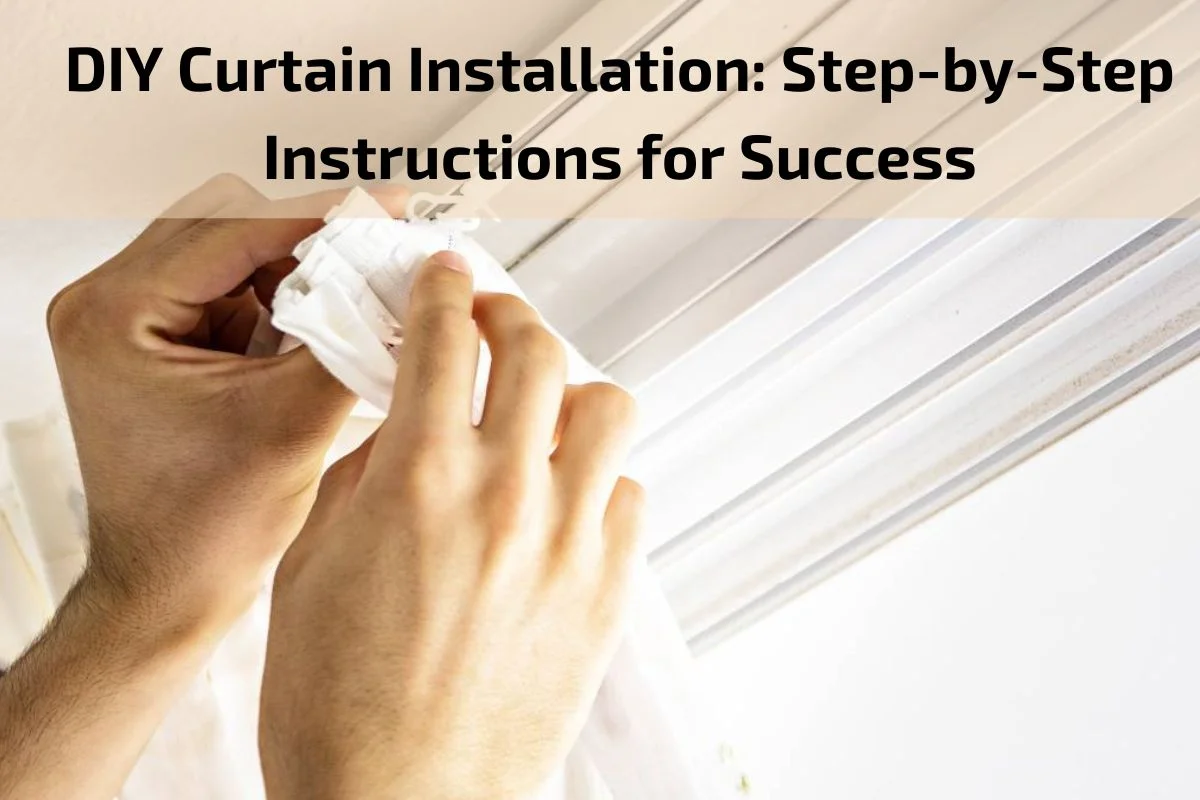
DIY Curtain Installation: Step-by-Step Instructions for Success

Embarking on a do-it-yourself (DIY) project can be both empowering and rewarding, especially when it comes to enhancing your home decor. One such project that offers immediate impact and transformation is installing curtains. Whether you’re aiming to add privacy, control light, or simply elevate the aesthetic appeal of your space, DIY curtain installation allows you to customize your window treatments to suit your style and preferences.
In this guide, we’ll provide you with step-by-step instructions for successful DIY curtain installation. From gathering the necessary tools and materials to mastering the techniques for hanging curtains like a pro, we’ll walk you through each stage of the process. Whether you’re a seasoned DIY enthusiast or a novice looking to tackle your first home improvement project, our goal is to equip you with the knowledge and confidence needed to achieve professional-looking results.
Importance of curtain installation in home decor
Curtains play a pivotal role in home decor, serving as more than just window coverings. Their importance transcends mere functionality, extending into the realms of aesthetics, ambiance, and practicality within living spaces. Here’s why curtain installation is a crucial element in enhancing home decor:
Style and Aesthetics: Curtains are integral components of interior design, adding texture, color, and pattern to a room. They have the power to tie together various elements of decor, from furniture to wall paint, creating a cohesive and visually appealing space. Whether you opt for bold prints, subtle neutrals, or luxurious fabrics, curtains can instantly elevate the style quotient of any room.
Ambiance and Mood: The right choice of curtains can dramatically influence the ambiance and mood of a room. Sheer curtains, for instance, diffuse natural light, creating a soft, ethereal atmosphere ideal for relaxation and tranquility. On the other hand, heavier drapes can impart a sense of coziness and intimacy, perfect for bedrooms or formal living areas.
Light Control and Privacy: One of the primary functions of curtains is to control the amount of natural light entering a room and to provide privacy. By adjusting the curtains, homeowners can regulate the intensity of sunlight, preventing harsh glares and protecting furnishings from UV damage. Additionally, curtains offer a layer of privacy, shielding interiors from prying eyes, especially in urban or densely populated areas.
Temperature Regulation: Curtains also contribute to maintaining comfortable indoor temperatures by insulating against heat loss or gain. During colder months, thick, lined curtains can trap heat inside, reducing energy costs and keeping rooms warm and cozy. Conversely, in hot climates, lightweight curtains allow for airflow while still offering shade and protection from excessive heat.
Sound Absorption: Certain types of curtains, particularly those made from dense fabrics or with added lining, can help absorb sound, reducing noise pollution from outside sources. This is particularly beneficial for homes located near busy streets or areas with high levels of ambient noise.
Benefits of DIY curtain installation
There are several notable benefits to embarking on a do-it-yourself (DIY) curtain installation project:
Cost Savings: DIY curtain installation eliminates the need for professional labor costs, significantly reducing the overall expenses associated with window treatments. By taking on the project yourself, you can allocate your budget towards high-quality curtains and hardware, ensuring a stylish outcome without breaking the bank.
Customization: DIY installation empowers homeowners to personalize their window treatments according to their unique preferences and specifications. From selecting the fabric and style of curtains to choosing the perfect hardware and accessories, DIYers have full control over every aspect of the design, resulting in custom-made curtains that perfectly complement their decor.
Sense of Accomplishment: Successfully completing a DIY project, such as curtain installation, instills a sense of pride and accomplishment. Taking ownership of the process from start to finish fosters a deeper connection to your home and enhances your confidence in tackling future home improvement endeavors.
Flexibility and Convenience: DIY installation allows you to work at your own pace and schedule, without having to coordinate appointments with professional installers. Whether you prefer to tackle the project in a single day or spread it out over a weekend, DIY curtain installation offers flexibility and convenience to fit your lifestyle.
Learning Experience: Engaging in DIY projects provides valuable learning opportunities and allows you to acquire new skills and knowledge. Through researching installation techniques, practicing hands-on tasks, and troubleshooting challenges along the way, you can expand your repertoire of home improvement skills and gain confidence in your abilities.
Adaptability: DIY curtain installation enables you to adapt and modify your approach based on specific needs and circumstances. Whether you’re dealing with non-standard window sizes, unconventional mounting surfaces, or unique design preferences, DIYers can brainstorm creative solutions and tailor the installation process to suit their individual requirements.
Step-by-Step Installation Guide
Here’s a step-by-step guide to help you successfully install curtains:
Gather Your Tools and Materials: Before you begin, make sure you have all the necessary tools and materials on hand. This typically includes a measuring tape, drill or screwdriver, level, pencil, curtain rods or tracks, brackets, and curtains.
Measure Your Windows: Use a measuring tape to determine the width and height of your windows. Measure both the inside width of the window frame and the desired width for your curtains. Additionally, measure the height from the top of the window frame to where you want the curtains to hang.
Select the Curtain Hardware: Choose the appropriate curtain rods or tracks based on your window measurements and curtain style preferences. Ensure that the hardware is sturdy enough to support the weight of your curtains.
Determine Mounting Placement: Use a pencil and level to mark the placement of the mounting brackets for the curtain rods or tracks. Make sure the brackets are evenly spaced and aligned horizontally.
Install Mounting Hardware: Use a drill or screwdriver to attach the mounting brackets to the wall or window frame, following the marked placement. Use anchors if necessary for added stability, especially for heavier curtains.
Hang the Curtain Rods or Tracks: Once the mounting hardware is securely in place, install the curtain rods or tracks onto the brackets. Double-check that the rods or tracks are level and properly aligned before tightening the screws.
Prepare the Curtains: If your curtains require any preparation, such as ironing or hemming, do so before hanging them. This will ensure a polished and professional look once they’re in place.
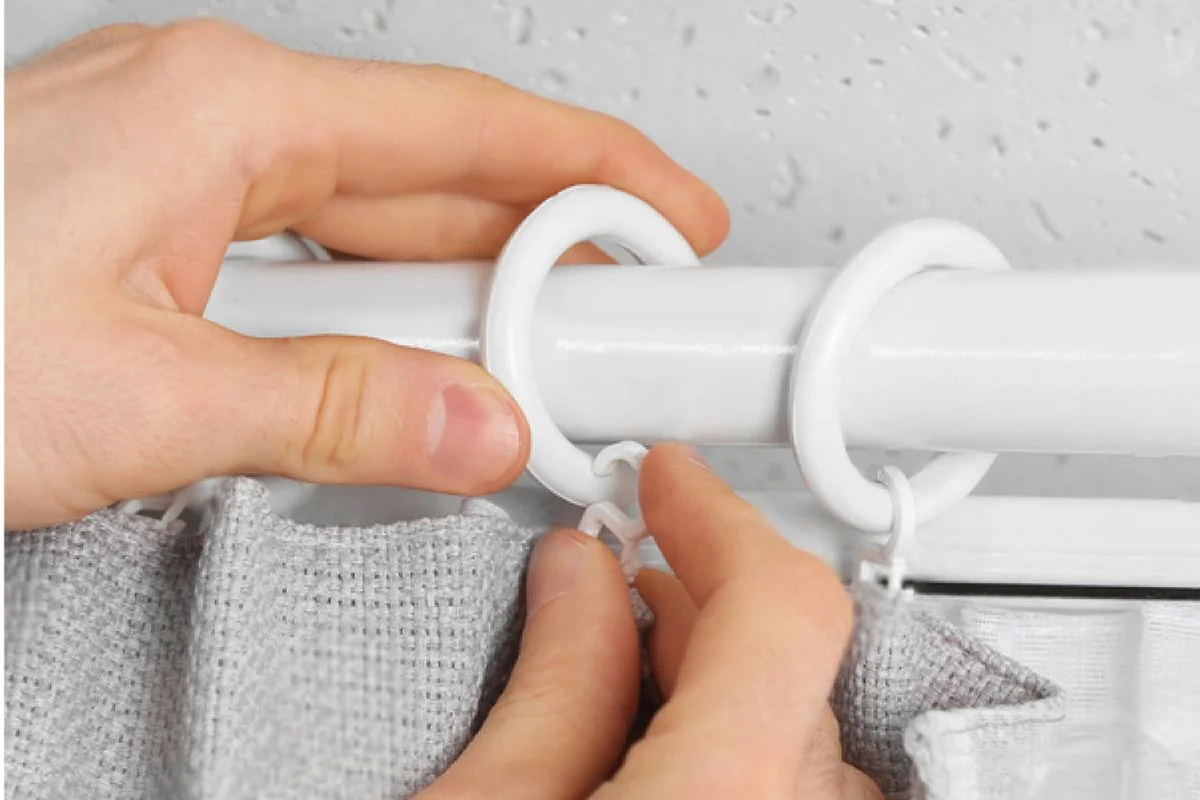
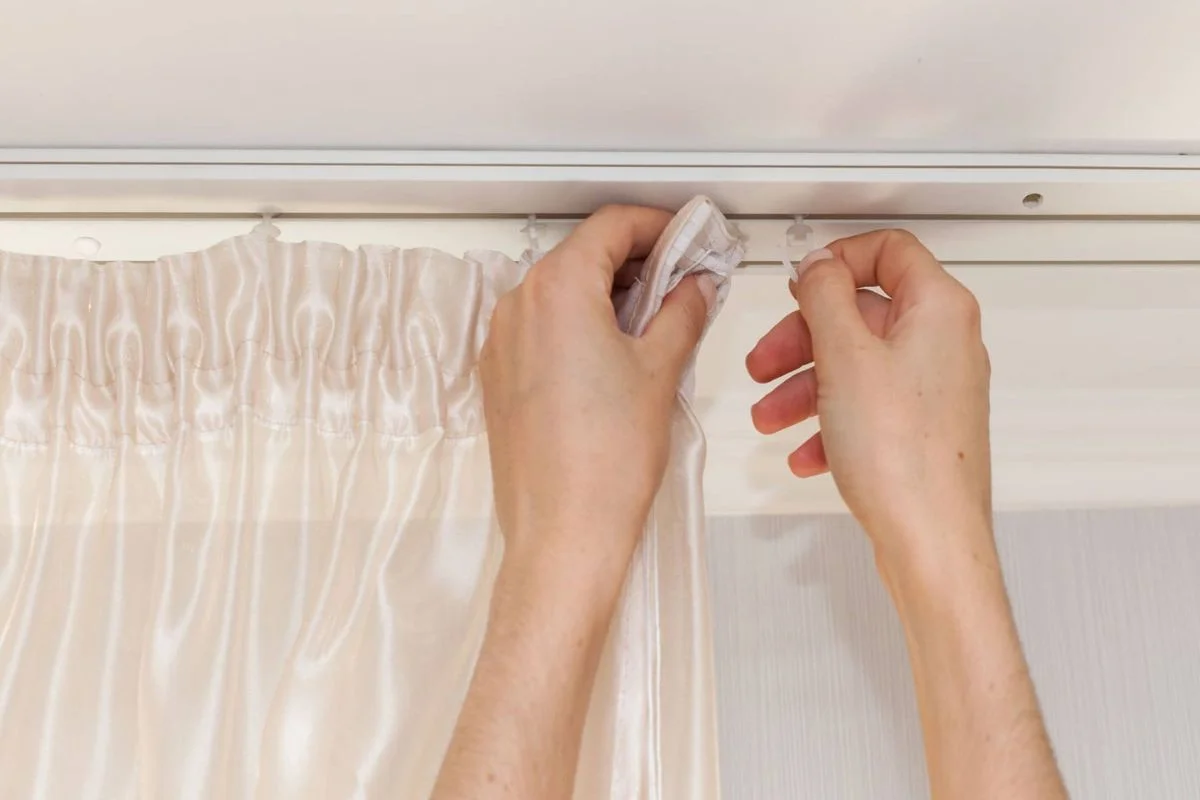
Attach the Curtains to the Rods or Tracks: Depending on the type of curtains and hardware, follow the specific instructions for attaching the curtains to the rods or tracks. This may involve sliding the curtains onto the rod, clipping them onto curtain rings, or securing them with hooks.
Adjust and Finalize: Once the curtains are hung, adjust them as needed to ensure they’re evenly spaced and hanging at the desired length. Use a level to double-check that they’re still straight and aligned.
Test for Functionality: Test the curtains by opening and closing them to ensure they operate smoothly and without any obstructions. Make any final adjustments as needed.
Hanging curtain installation
Hanging curtains is a straightforward process, but it requires attention to detail to ensure they are properly installed and hang beautifully. Here’s a step-by-step guide to hanging curtain installation:
Prepare the Area: Clear the space around the window where you’ll be installing the curtains. Remove any furniture or obstacles that might get in the way.
Gather Your Tools and Materials: You’ll need curtain rods or tracks, brackets, screws, a drill or screwdriver, a level, measuring tape, and curtains.
Measure the Window: Use a measuring tape to determine the width of the window and the desired height for the curtains. This will help you select the appropriate curtain rod length and placement.
Choose the Curtain Rods or Tracks: Select curtain rods or tracks that are suitable for your window size and curtain style. Make sure they are sturdy enough to support the weight of your curtains.
Mount the Brackets: Use a pencil and a level to mark the placement of the brackets on the wall or window frame. Ensure they are evenly spaced and aligned. Then, use a drill or screwdriver to attach the brackets securely to the wall.
Install the Curtain Rods or Tracks: Place the curtain rods or tracks onto the brackets and secure them in place. Double-check that they are level and properly aligned before tightening the screws.
Prepare the Curtains: If necessary, iron or steam the curtains to remove any wrinkles and ensure they hang smoothly. If you’re using curtain rings or hooks, attach them to the curtains according to the manufacturer’s instructions.
Hang the Curtains: Slide the curtains onto the curtain rod or attach them to the curtain rings or hooks. Ensure that the curtains are evenly spaced and hanging at the desired length.
Adjust as Needed: Step back and assess the curtains to make sure they are hanging straight and evenly. Use a level to check their alignment and make any necessary adjustments.
Test for Functionality: Open and close the curtains to ensure they operate smoothly and without any obstructions. Make any final adjustments as needed to ensure they hang properly.
Conclusion
In conclusion, installing curtains is not only a practical necessity but also a creative opportunity to enhance the aesthetics and functionality of your living space. By carefully selecting the right curtains, hardware, and installation techniques, you can transform ordinary windows into stylish focal points that elevate the overall ambiance of your home.


